Make Your Own Homemade Sauerkraut
Making homemade fermented sauerkraut used to scare me. Along with the fear of botulism, I was also confused and unsure how to proceed. I really wanted to try to make this delicious, pro-biotic-rich condiment, but was utterly lacking in confidence. I’d been reading things on social media about topping the kraut with oil, and needing an airlock. And definitely needing a jumbo-sized crock. My first few attempts failed so I gave up and started buying kraut from the store again.
And then an opportunity came up to take one of Sandor Katz week-long fermentation workshops and I jumped on it. A whole week just to learn about fermentation and wild foods, what a pleasure! As I listened to the charistmatic king of kraut explain that pathogenic bacteria cannot grow in a salty, acidic environment, my fears disappeared like a bubble of carbon dioxide rising through a jar of ferments. Hurrah!

“Chop, Salt, Pack, Wait” – Sandor Katz
A few years later, I’m now feeling so good about making sauerkraut, that I’m ready to encourage others to make it too. Since I had a hard time finding detailed instructions back when I needed them, that is exactly what I’m providing here including the tricks that have provided me the best results. Yes, you too can make delicious sauerkraut without anything more than a jar, salt, and cabbage.
Sauerkraut variations
Although all you need is cabbage and salt, there are many ways to personalize your sauerkraut. You can make it plain or add vegetables, fruits, herbs or roots to it. Here are some suggested additions:
- apples
- carrots
- onions
- radishes
- turnips
- dill
- garlic
- juniper berries
- cranberries
- hot peppers
- ginger
Napa Cabbage + Onions + Carrots + Radish + Hot Peppers + Ginger + Fish Sauce + Fermentation = Kim Chi (more or less)
Additions with more sugar = faster fermentation

What to eat it with
Sauerkraut has a bright and sour flavor profile. It combines well with many heavy, earthy foods to achieve balance on the plate. You might enjoy sauerkraut…
- with bratwurst – of course!!
- with pan-fried sweet potatoes & fresh avocado
- with rice & beans or chili
- on a grilled cheese sandwich or hamburger
- with fried eggs
- with sauteed tempeh & vegetables
- as a salad ingredient
Or you can…
- add some sauerkraut juice to a hot soup after it’s served
- drink a shot of the juice straight
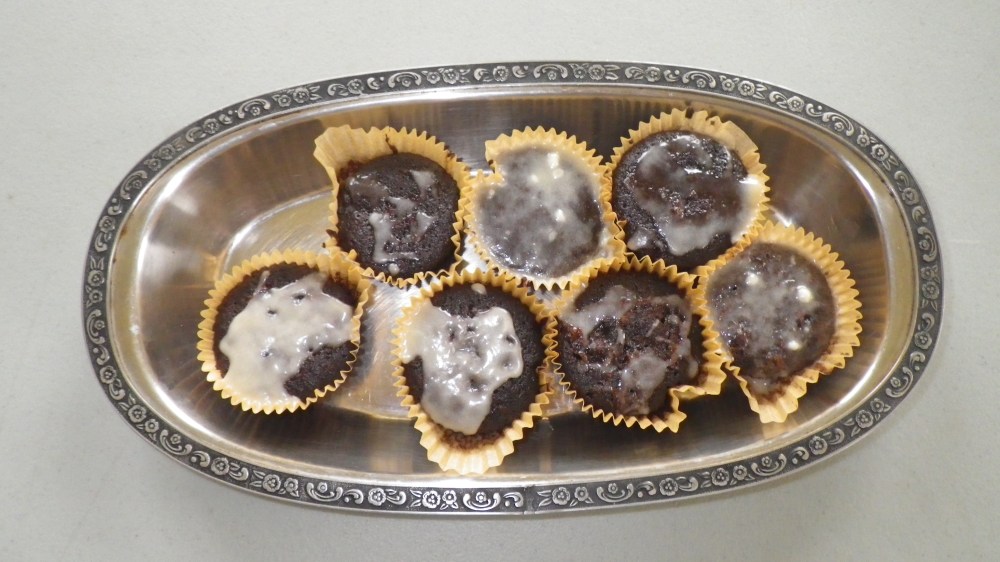
- even add it to chocolate cake as an ingredient!
When to make sauerkraut
Traditionally sauerkraut was made at the end of the growing season, when the cabbage was harvested. Preserving cabbage in the form of sauerkraut allowed people to have a source of food packed with vitamin C during the long winter months.
One of my favorite times to make sauerkraut is when I can share the activity with friends. It’s fun to pass on the skill to those who haven’t learned it yet. And the long moments kneading the cabbage go by faster when you have a friend to chat with!
How to make Fermented Sauerkraut
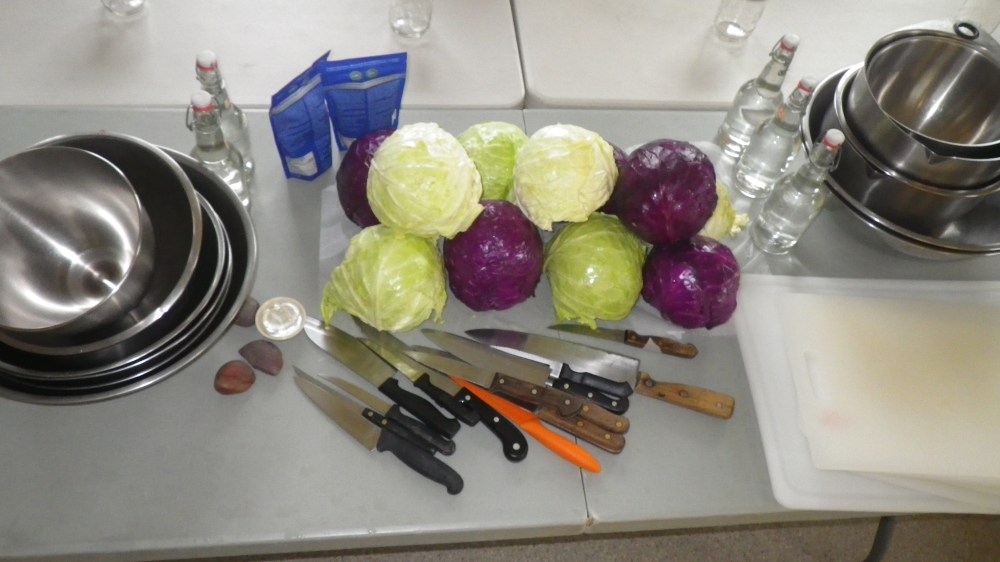
What you’ll need:
- cabbage
- unchlorinated water
- salt (approx. 1 tbsp. per quart jar)
- additional produce (optional)
- a large bowl
- knife, grater, or mandolin
- a cutting board
- glass jars, or a ceramic crock
- plates or a tray to put under the jars
Instructions
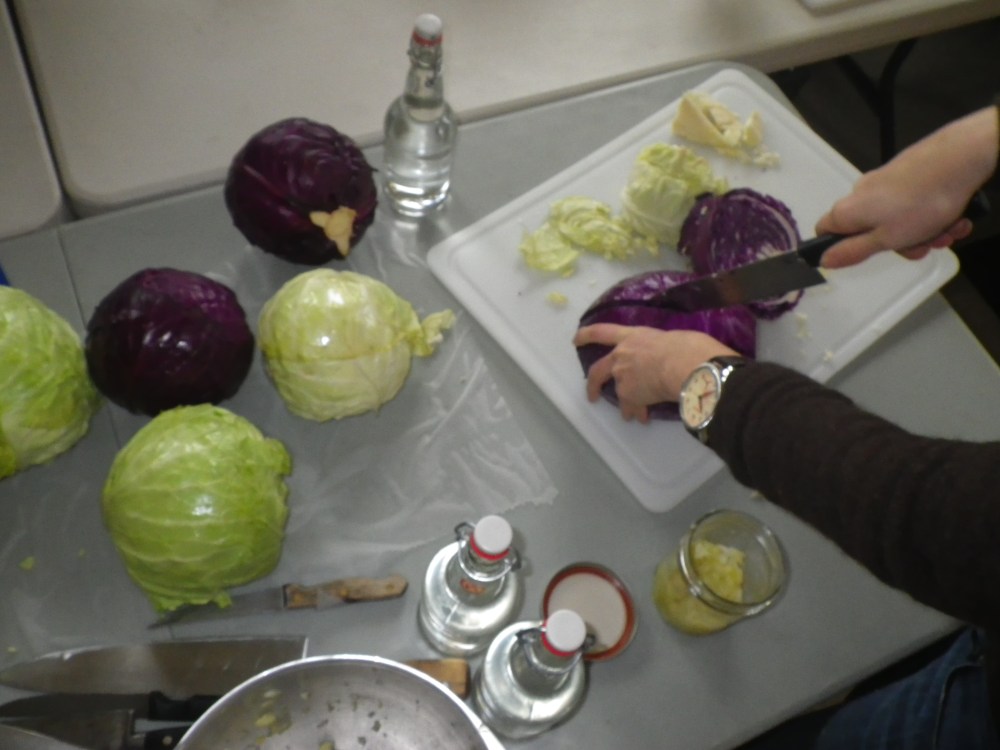
- RESERVE a few of the outer leaves of the cabbage – don’t chop these up.
- CHOP or shred the rest of the cabbage to desired sized pieces.
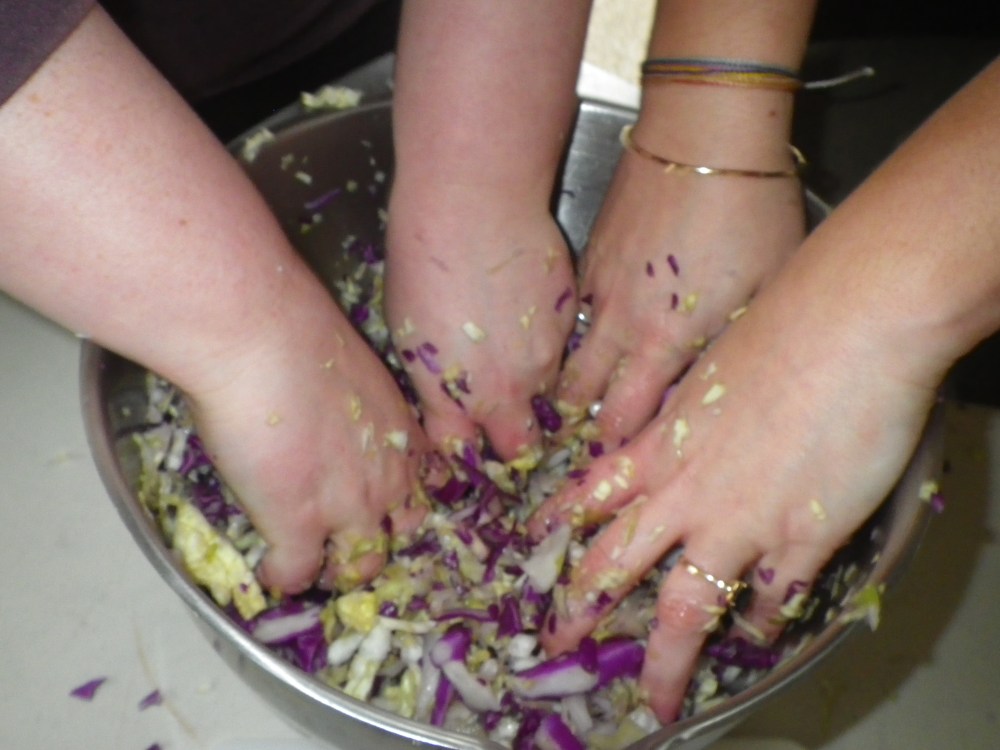
- PLACE the cabbage into a bowl. SPRINKLE with the salt. Optional: LET SIT for up to several hours.
- SQUEEZE the cabbage with your hands or pound it.* The salt will cause the cabbage to start to release its juices. Encourage this process by squeezing handfuls of cabbage to break down cell walls. Ideally, do this long enough so that there is enough juice to cover the cabbage entirely in the jar. This liquid will be your brine.
- ADD additional ingredients to the cabbage and salt mixture. (Optional)
- PUT a handful or two of cabbage in the jar. PACK it down with your hand. You want the cabbage to be tightly packed to create more flavor. CONTINUE until the jar is nearly full, with about an inch and a half of room at the top.
- POUR the cabbage juice into the jar, if any remains.
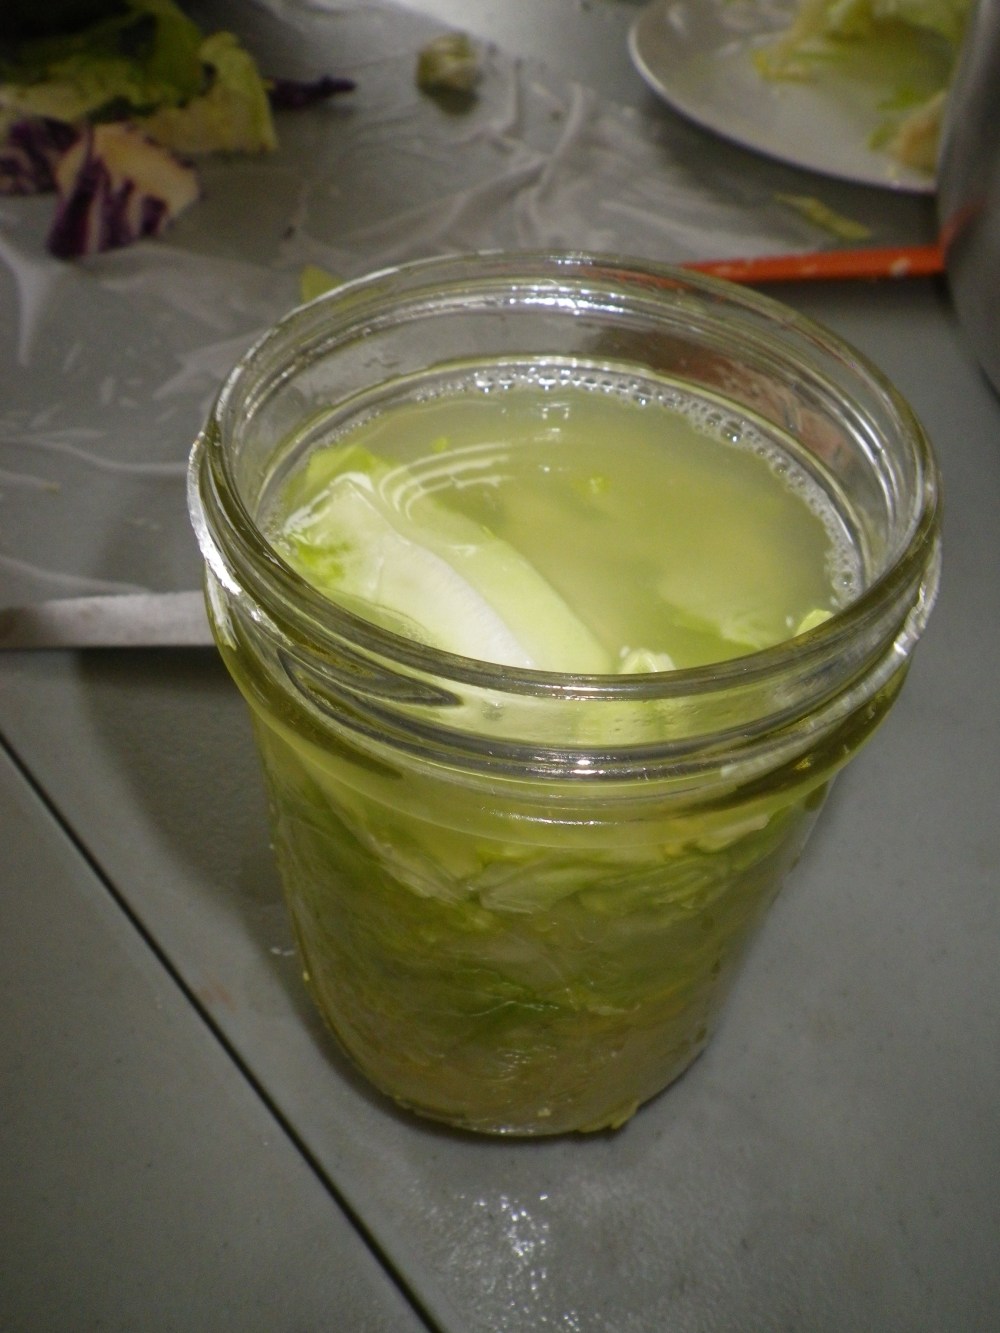
- TAKE one of the reserved cabbage leaves, fold or tear to size, and use this to tuck your cabbage down into the jar. You’re making a sort of inner lid with it. This will keep your ingredients below the surface of the brine, and help prevent mold from growing on the surface. REPEAT with another cabbage leaf or two.

- COVER with water if you didn’t get enough juice from your cabbage. If you want to use a fermentation weight you can place this now. Solids should be covered with liquid.
- PUT the lid on your jar (somewhat loosely), PLACE it in a spot out of direct sunlight, CHECK it in 3 days. ADD more water if needed. CONTINUE fermenting for a week, two weeks or as long as necessary.** CHECK periodically while fermenting – taste and when the sauerkraut tastes great to you, it’s done!
- REFRIGERATE or put in a cool cellar or basement to slow fermentation, or go ahead and EAT!
* Instead of squeezing the cabbage, just cover with brine instead. This will make the prep faster but usually results in a less tasty and more mold-prone ferment.
**The time needed for your sauerkraut to be ready will depend on the temperature. Sauerkraut fermented at warm temps will ferment more quickly but will also lose its crispness faster.
What happens next
Your jar of sauerkraut is sitting in a nice location – out of direct sunlight, away from the reach of curious pets or kids, and has a plate or tray under it to catch brine that may emerge from the jar.
Within the first few days you will notice some ACTION! You may see that liquid from your jar has spilled out onto the plate. You may catch glimpses of bubbles floating through your brine. Congratulations, this means your cabbage is fermenting!
At this time, open the jar and check the surface of your ferment.
- Are the vegetables covered? If not, add some more water.
- Are there small particles of vegetables or herbs floating on the surface? If so, remove them with a spoon.
- Has a leaf or weight used to keep the vegetables under the brine bulged up above the surface of the brine? Is so, tuck it back down or cover it with water.
The time needed to ferment your sauerkraut to completion depends on the temperature in your kitchen, the amount of salt added, the freshness of your cabbage and probably some unknown factors as well! In order to know when your ferment is ready to eat, you will need to taste it.
Sauerkraut should have a tart, acidic, sour taste. The longer you ferment, the more sour it might get. However, the longer you ferment, the softer the vegetables will also become.
Once your sauerkraut tastes delicious to you, place it in a cool location, such as your fridge. You can also leave it out on the counter, but be aware that it will continue to ferment. Eventually the kraut will become mushy.
Traditionally, sauerkraut was stored in cool cellars or buried in the ground during winter. Try this if you like!
Notes & Troubleshooting
SMALL BATCHES are best to start with as you learn to ferment. This way you will avoid having to throw away crock-fulls of moldy sauerkraut. I speak from experience!
SMALL BATCHES will also allow you to experiment with different flavorings and combinations to see what you like best and what ends up fermenting well together.
KAHM YEAST on surface of ferment –> Scrape off or stir in. Kahm yeast is a flat whitish film. This is not a big issue, the ferment is still edible, however, it may impart a slightly yeasty taste. Try to keep your ferment under the brine next time. Kahm yeast appears frequently, so don’t take this as a failure!
MOLD on surface of ferment –> Scrape off and discard the mold and top inch or so of the ferment. Add water to cover if needed and continue to ferment. If mold is extensive or keeps coming back, compost this batch and start over. Try to keep your ferment under the brine next time.
FERMENT is losing water –> Add a little more water to cover vegetables.
FERMENT is not salty enough –> Add a little more salt to taste.
FERMENT is too salty –> Add more water. You may need to remove some of the brine first.
STAINLESS STEEL bowls are ok for mixing sauerkraut. They are not ok for fermenting or long term storage of sauerkraut – use glass or ceramic for this.
PLASTIC bowls and containers are not recommended for fermenting or long term storage of sauerkraut. Acidic foods can leach chemicals out of plastics.
TIME is sometimes the remedy to better flavor development in fermented vegetables – but this is not always true! If you have been fermenting some vegetables for 3+ months and they still taste funky and unpleasant, compost them and start over!!
Happy Fermenting!
Good luck with your sauerkraut, and if it doesn’t go as you’d hoped, don’t give up, just try again. Have fun and happy fermenting!