
Growing your own food must be sounding pretty good right about now, eh?
And you’re not alone, based on the current run on seeds.
The seed companies can’t keep up with the demand and are having to close for days at a time just to catch up on backed up orders. I have received emails from nearly all of my favorite seed companies saying as much.
Luckily, Chad and I put our 2020 seed order in months ago and we are well stocked in seeds.
I’m guessing that at least some of the people frantically ordering seeds right now aren’t totally well versed on how to use them.
So I’m going to try to help with that.
All gardeners start as beginners at some point.
Even though I worked at a garden center on and off for several years, I didn’t know how to grow a vegetable garden until I started doing it myself – many years after my garden center gig.
So if you want to grow your own food, here’s the basic equation:
Sun + Soil + Timing + Seeds + Water = (Nearly) Free Food
Sun
First things first. Your garden veggies will need sunlight to grow.
You need at least 8 hours of full sun every day for nearly everything you’d want to eat.
If you have a spot in your yard that gets that much sun or more, that will be a great location.
Soil
You can adapt where your soil is to what your constraints are.
Do you have a whole acre that you want to plant? Cool. Use it.
Do you live in a temperate climate that gets plenty of rain and plenty of heat? Raised beds might be the easiest. Make them 4 feet by 4 feet.
Do you live in an arid climate like I do? Don’t use raised beds. They dry out too quickly. Instead, dig sunken beds or sunken rows.
Are you stuck in an apartment or condo with no yard to use? If you have a window or balcony that faces south, you can grow food in containers.
Timing
In order to turn the other parts of the equation into nearly free food, timing is terrifically important.
Some plants like cool weather, others prefer warm weather. And you need to know which are which.
The following recommendations are chosen both because they are things that people commonly want to eat AND they are fairly easy to grow AND they require no trellises.
Cool Weather Crops
You can plant these cool weather crops from seed.
Generally this is done around 6 weeks before your last frost date. You can find out when your last frost date is at the Old Farmer’s Almanac.
You’ll find specifics on when to start each plant on the seed packet – some may say to start them 1 week before your last frost date, for instance.
When growing from seed, here’s what I recommend starting with:
- lettuce
- greens: collards, kale, spinach, Swiss chard
- beets
- carrots
- radishes
- herbs: cilantro, dill

Warm Weather Crops
These have to be planted after your last frost date because frost will damage them.
Generally it’s best to wait a couple of weeks after your average last frost date in spring – just to be safe.
But make sure you don’t wait too long after your last frost date – some of these require months to grow.
From seed:
- bush snap beans (aka, green beans), bush dry beans (plant them separately so you can keep track of them)
- cucumbers
- summer squash
- winter squash
- okra (if you live in the southeast)
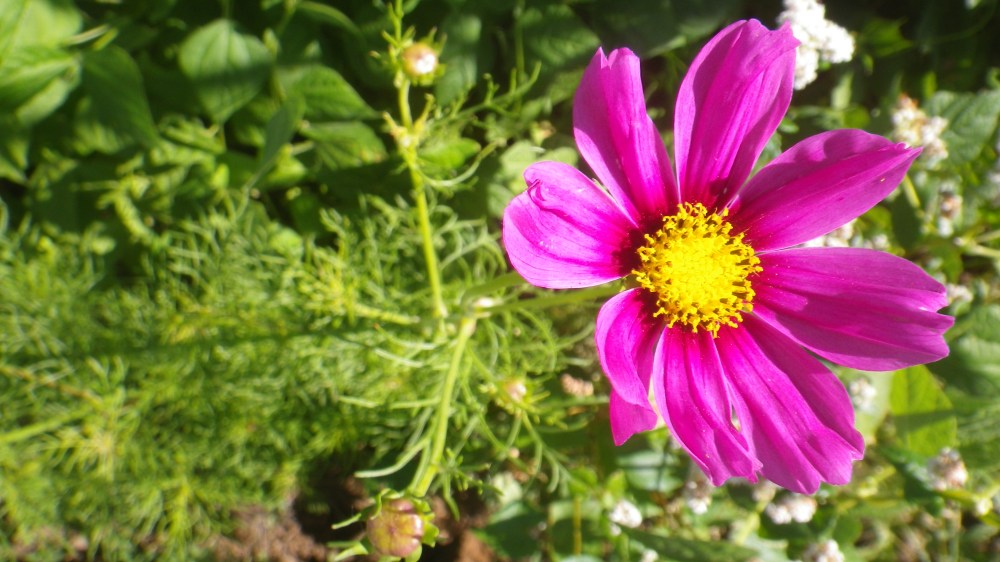
- flowers: zinnias, cosmos, marigolds
I urgently recommend planting some herbs and flowers along with your veggies.
These will attract beneficial insects and help keep your garden eco-system balanced. And they are surprisingly easy to grow.
Since you are a beginning gardener, I’m not going to encourage you to start your transplants yourself – save this for once you have your gardening routine more established.
So when you’re starting out you’ll want to buy these as plants from a local nursery:
- tomatoes
- peppers
- eggplant
- basil
You’ll also want to plant these after your last frost date – temperatures of 32 degrees Fahrenheit or lower will damage and / or kill them.
Seeds
Start with what you can plant directly in your soil in seed form. It’s cheaper to plant seeds than to buy plants, and you can get a whole lot more variety this way as well.
Each seed packet has planting recommendations on it.
Despite what may be your natural inclination to be lazy and just throw the seeds in the ground, it is really a good idea to read this information!
Following the directions means the difference between food and no food. Seriously.
Here’s my method for planting seeds:
- Mix compost into your soil – just make sure you don’t compress the soil. Don’t walk on it or step on it. Your future plants will be happier if there is air in the soil for them to reach their tiny little roots into – and that only happens if you don’t smash the soil down.
- Pat the surface of the soil gently to level it out. You want to smooth it without compressing it.
- Now, depending on how deep you need to plant your seed (and that can be just on the surface to an inch deep or more, depending on the seed), make a hole with either a pencil point or your finger that is the appropriate depth.
- Space these holes out (see your seed package) at the recommended distance.
- Drop your seed in its hole, and then push some soil back over it to close up the hole.
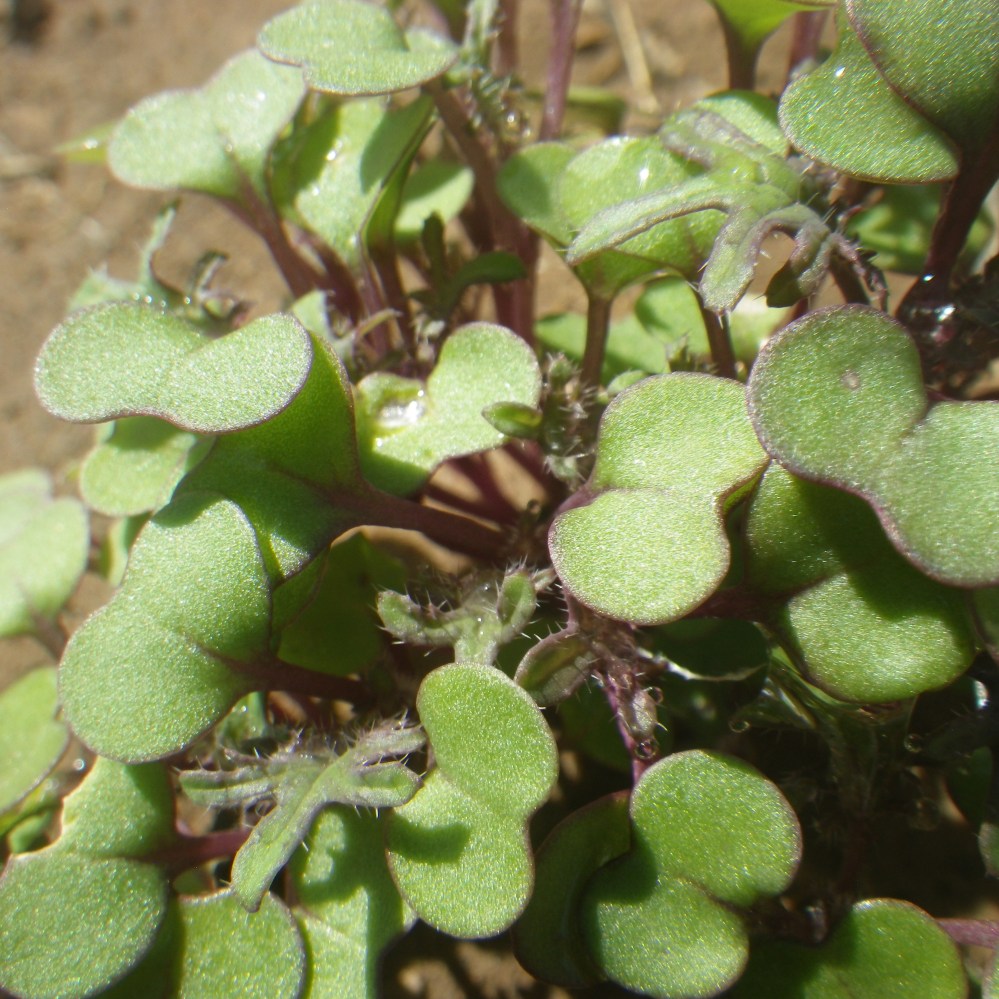
That’s it. Within a week or two you will see tiny seedlings sprouting above the surface of the soil.
Water
After you plant your seeds, water them in gently using a watering wand attachment on your garden hose.
DO NOT use an open hose with no attachment. Your seeds will get washed away. DO NOT go fire hose style, full jet to water your plants. Even when they grow and get established, you want to be gentle.
Sprinklers suck for watering a garden. They waste a ton of water, and in arid climates, most of the water will evaporate before it hits the ground.
Even if you think you don’t have any reason to conserve water – hey, these are new times we’re living in, so go ahead and be prudent. Don’t waste your water.
Another reason to hand water rather than rely on sprinklers is that many plants are more prone to disease when their leaves get wet. It’s not that you have committed a mortal error if you get a drop of water on a tomato leaf. But, do try to focus your watering on the soil instead of on the leaves.
And the final reason to hand water?
This gives you time to inspect your plants. If you see a plant that looks like it’s sick and dying, pull it up and throw it in the trash can – not the compost – before whatever disease is on it can spread to your other plants.
How often you will need to water will depend on your climate, your soil, and other factors, like whether you sing your plants lullabies at night or not. Just kidding, no lullabies required – though I really do think my plants enjoy when I hang out near them!
That’s it! Now all you have to do is keep up a watering routine, wait for time to pass, and keep at eye out for that free food.
Nearly Free Food
Mostly you will recognize when the free food is ready to harvest because it will look like what you buy in the grocery store.
Even those veggies that grow underground usually let you know – their roots bulge above the ground, yelling out, “Hey! I’m here!”
Keep an eye on things like zucchini and string beans – or you will end up with zucchini the size of baseball bats (better for zucchini bread than for sauteing) and stringy, fibrous string beans.
Yes, there are other things involved in gardening, but this is a crash course, not a doctorate.
Go, plant your seeds, take care of them, and eat well, my fine friends.

I love this!! Thank you so so much for sharing! (:
LikeLiked by 1 person
Thanks, Georgia! Hope it inspires!
LikeLiked by 1 person
Thank you!
Sent: Thursday, April 16, 2020 at 6:34 AM
LikeLiked by 1 person